10 December 2012

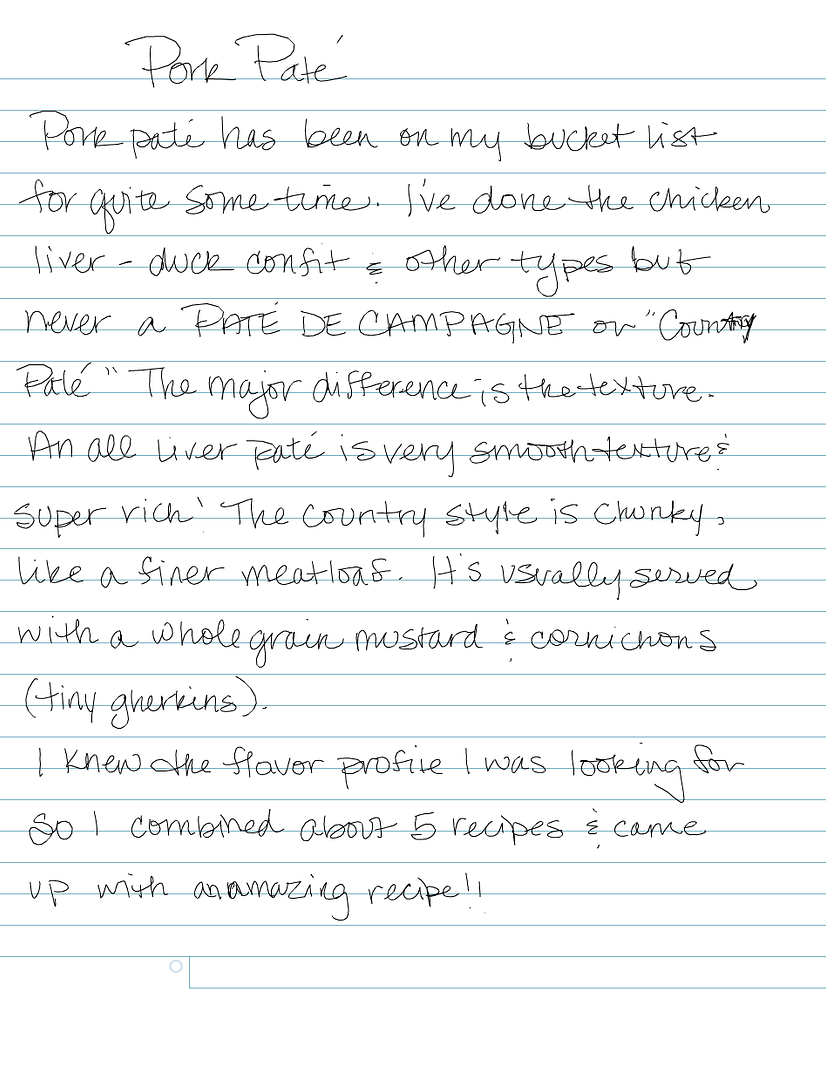
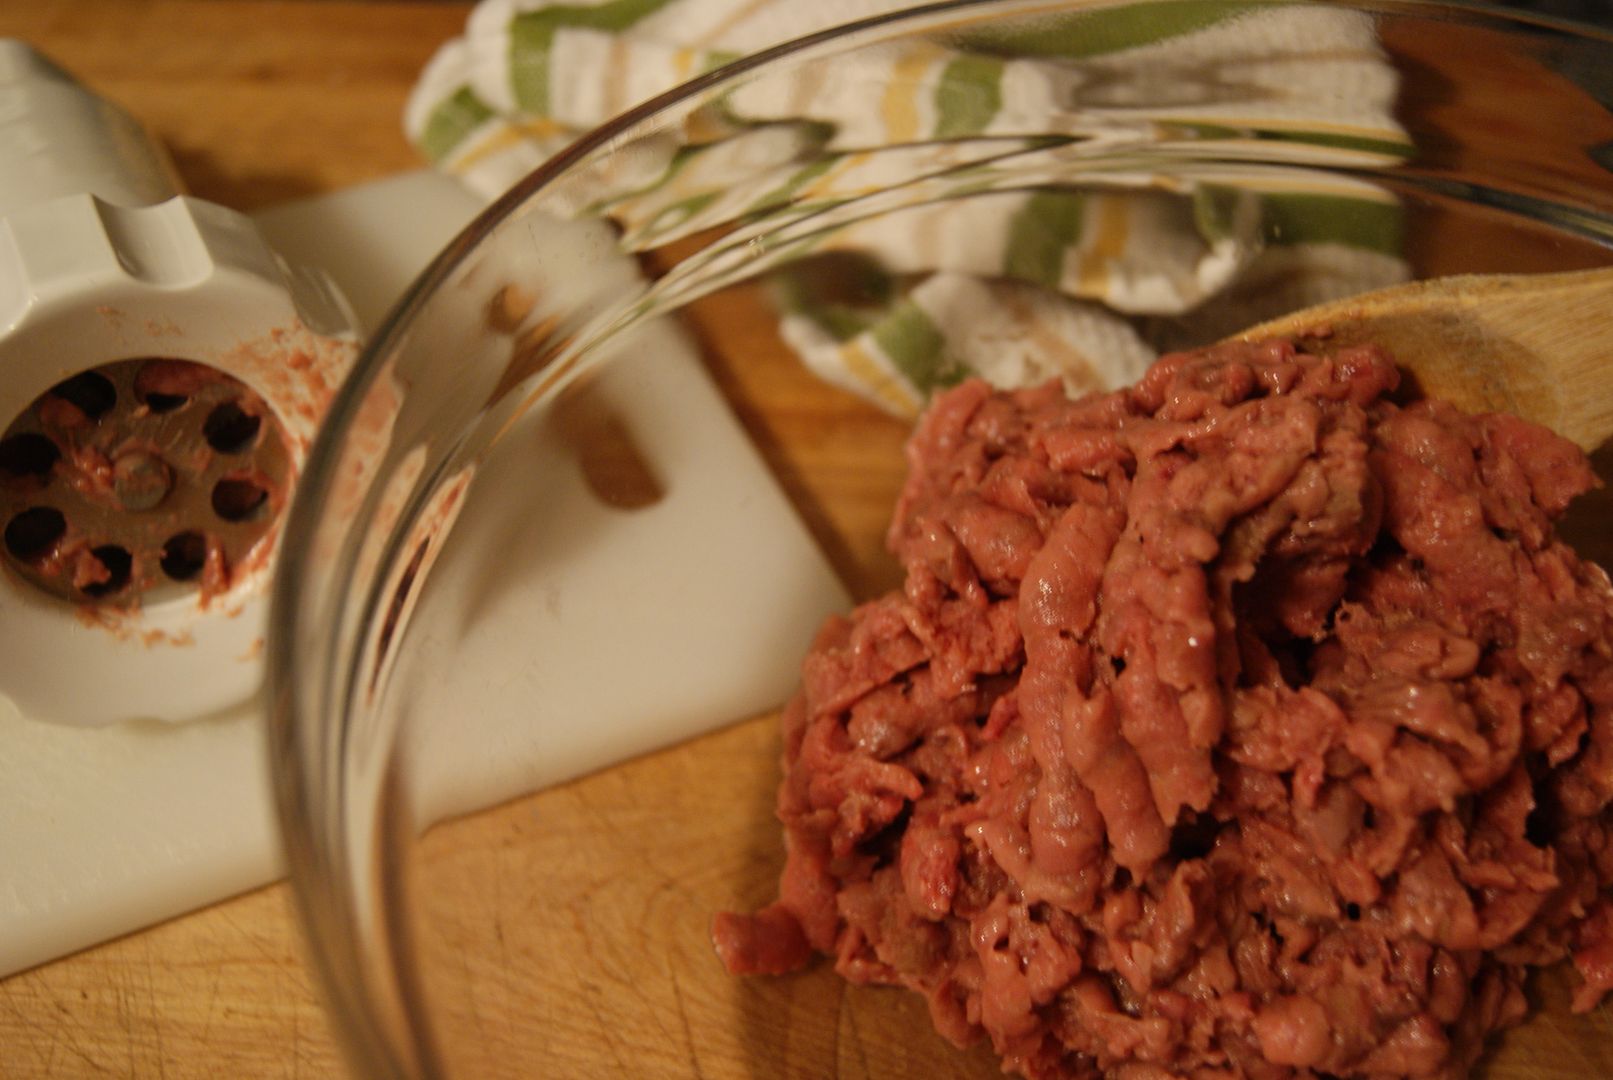
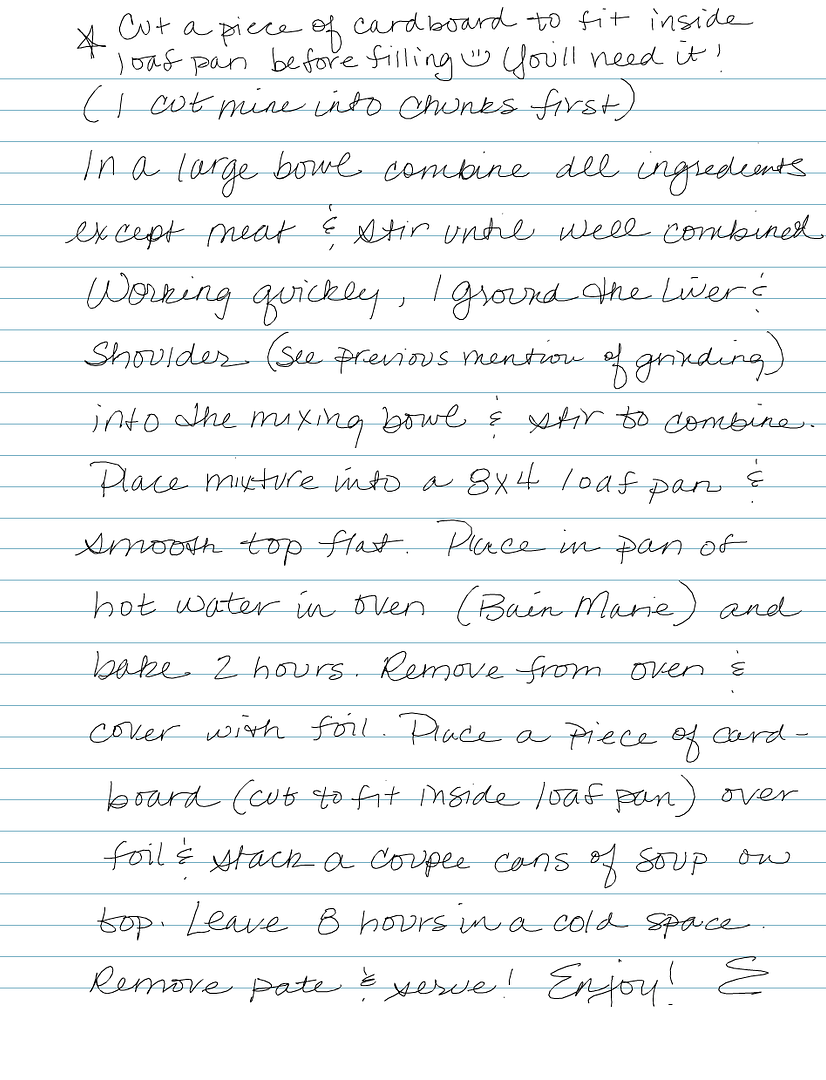
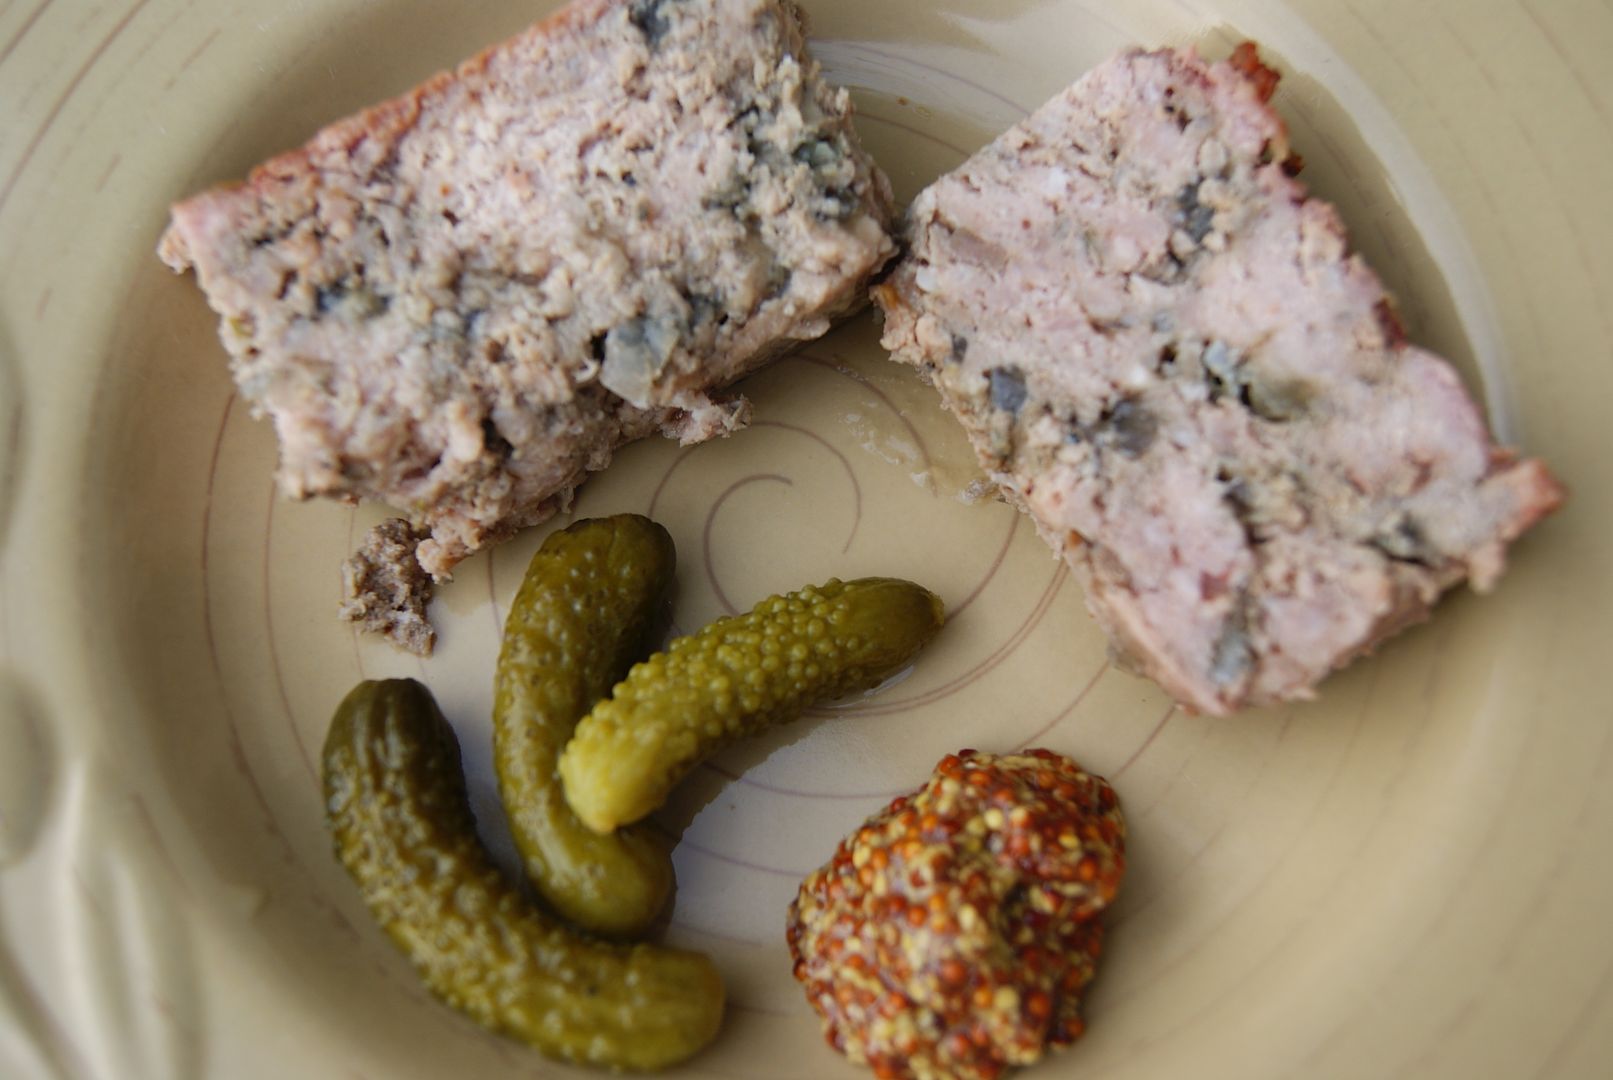
Pate de Campagne


09 December 2012

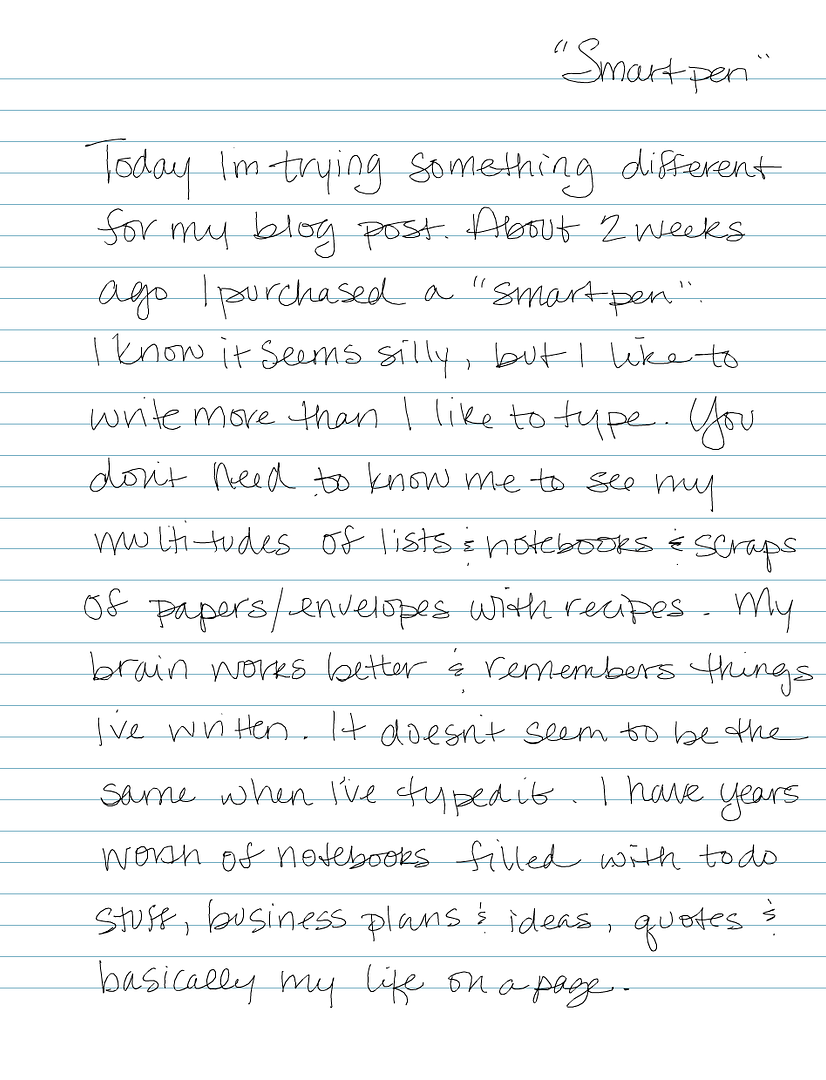
A Smartpen adventure....


01 December 2012

Beaujolais Wine Fondue


If you happened to stop into The Boulevard Market today you were in for a special sampling of Beaujolais Wine Fondue!!

A really easy and fun appetizer or dessert that's a little "fancy" and suits the holiday season beautifully!  (Sorry, still no pics, I need to buy more space and I haven't done it yet!)

We just Beaujolais Nouveau  since it is so trendy right now (and there was an extra cup hanging around :))  I also think the Beaujolais is nice since it's fruity and light.  You could easily use any wine you want, including white!  We paired our fondue up for dipping with a Cranberry/Raisin Focaccia bread and Cubes of Quicke's Farmhouse Cheddar from England.  BIG HIT!!  Hope you'll try it out!


BEAUJOLAIS WINE FONDUE
2 cups dry wine
1 cup sugar
6 teaspoons dry pectin

Combine wine and sugar in a large saucepan over high heat.  Bring to a boil, reduce heat to medium and allow to reduce about 25 minutes or until approximately 1 cup of liquid remains.  Stir in pectin and boil 1 minute, then remove from heat.  Allow to cool to warm and serve!

BTW; this would be AMAZING over ice cream.....


27 November 2012

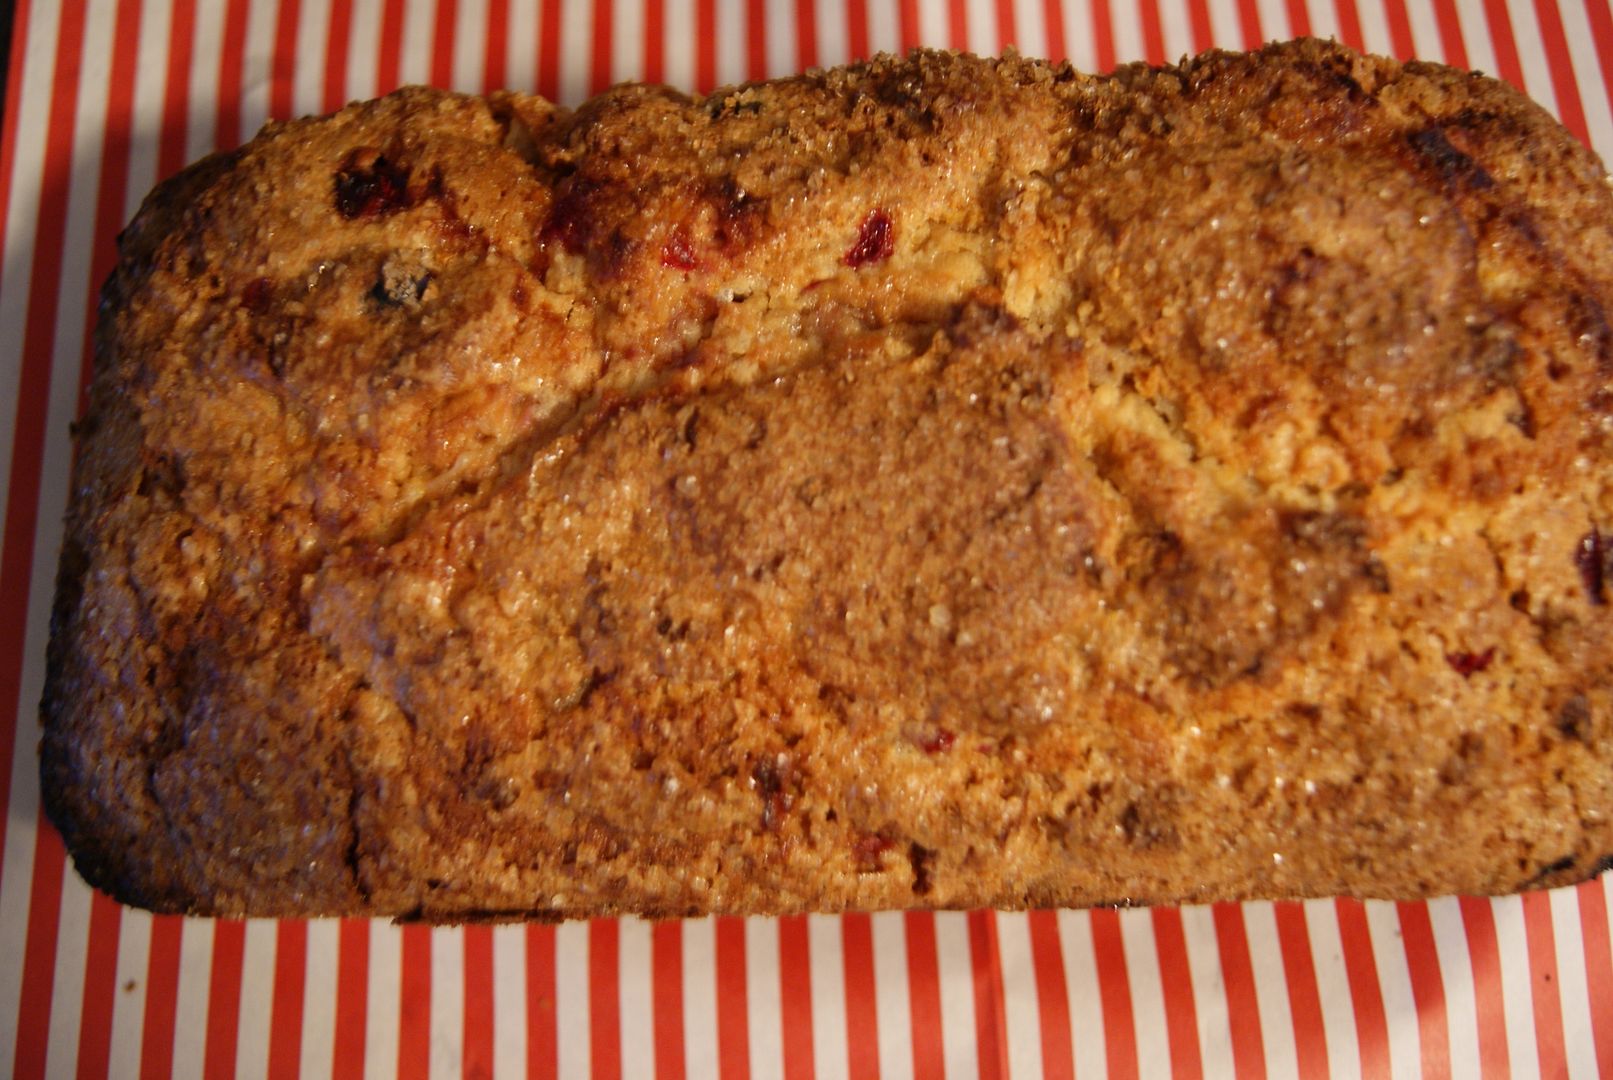
Cranberry Orange Quick Bread


With Thanksgiving just behind us, I had an extra bag of cranberries in the fridge begging to be used!

(BTW, I didn't freeze nearly enough cranberries last year and had to buy a bag in August....the only store that stocked them was Whole Foods and I paid $4.89 for 10 ounces, ouch.  Putting several bags in freezer as we speak, on sale for $1.88/12 ounces, very nice.)

I wanted a little something sweet, but not too sugary.  I did an internet search for fresh cranberry bread recipe and of course several options popped up.  None of them seemed to be exactly what I was looking for, so I altered Martha Stewarts to fit my taste buds.  Here's what I came up with:

4 tablespoons butter, melted
2 cups all-purpose flour
1 cup packed light-brown sugar
1 1/2 teaspoons baking powder
1/2 teaspoon baking soda
1 teaspoon salt
1 large egg, lightly beaten
3/4 cup whole milk
1/4 cup orange juice
1/2 teaspoon vanilla
8 ounces cranberries
1/4 cup candied peel, cut into 1/4 inch pieces

Topping:
1 tablespoon turbinado or raw sugar
1 teaspoon orange zest

(I prepare the orange zest mixed with raw sugar in larger batches and keep in a ziploc baggie in the freezer for use on truffles, sugar cookies, gingerbread and garnishing an espresso or cappucino.  Zest of 1 orange mixed with 4 Tablespoons raw sugar, mix to combine and let dry overnight on parchment lined sheet pan)

Preheat oven to 350 degrees.  Grease and flour 9X5 bread pan.  I like glass bread pans as they don't brown the crust as quickly as the metal pans do.

In a large mixing bowl, combine butter, egg, milk, orange juice and vanilla.  In another large bowl, combine all dry ingredients.  Stir together until a stiff batter has formed and stir in cranberries and candied peel.  Pour into prepared pan and sprinkle with raw sugar/orange zest combination.

Bake 1 hour-1 hour 10 minutes checking with a cake tester.  Remove and let cool in pan 15 minutes then turn out onto a baking rack or parchment paper.

It turned out amazing!  Moist and tart, with bits of candied peel and a crunchy sweet top layer instead of icing!

A note about candied peel.  I included the recipe in my cookbook "Seasons In My Kitchen" because I think grocery store peel is one of my top ten nastiest foods.  Candied peel are super easy to make and winter is the best time as all the citrus shipped here in Michigan is at it's peak!  I usually peel whatever citrus we are eating and keep them in the fridge for a few days until we have enough to make it worth the effort.  I mix grapefruit, orange and lemon, occasionally I separate them, especially the lime.  I then store it in the freezer up to a year to save cabinet space, but any airtight container will work and they will keep shelf stable for a couple months!  Dip the peel into melted dark chocolate for a fabulous holiday treat or add to any number of baked goods....you'll never go back to commercially prepared peel!

Another note...there are no photos because Google is being a shit and making me pay for more space.  Sorry.  I'm being stubborn on principle for a couple days :)


14 November 2012

Gifts From My Kitchen


Each year I look for some fun ideas for giving the gift of food.  The landscape is getting a bit harder to traverse however since folks are now gluten-free, nut-free, caffeine free, sugar free and on it goes.  I used to give lots of homemade booze gifts, had to scratch that too. 

So instead of being down and out about it...I'm starting with the younger generation :) 

This year, I am putting together Sugar Cookie Kits!  3 different colors of sanding sugars and 2 rolls of homemade refrigerator sugar cookie dough.  I am also including cute sheets of parchment paper in a polka dot pattern, all boxed up in a small crate!

I am giving the first set to our daughters.  They are busy girls that have very little in the way of baking supplies and time.  Viola...slice, sugar and bake!  I think that also makes this gift appealing to young children (mostly their parents :)) that there is no need for rolling pins, flour, cutters, etc.

I found the idea for the sanding sugar on ...wait for it....Pinterest!  Surprise!  The surprise was on me when it turned out so well!  I only had liquid food coloring on hand, so if you have paste food coloring, that would be really fun and expand your coloring options too!

You can poke around the internet for some cute printable cards to print the baking instructions on. Or if your printer is possessed like mine, hand print on a piece of card stock and run ribbon through 4 slits cut into the center of each edge with a box cutter.

I think the sky is the limit as to how cute you can make this gift!  I'm also sending one to our neighbors that have 2 small children and my niece and nephew that are teenagers but live with their dad and recently moved to a new home.....they really need cookies. 

SANDING SUGAR


¼ cup raw or turbinado sugar
10 drops of food coloring

Place sugar in small zip top bag, add food coloring drops directly to sugar and gently knead sugar until color is evenly distributed.  Pour out onto a sheet of parchment and allow to dry 2 hours.


REFRIGERATOR SUGAR COOKIE DOUGH

1 cup butter, room temperature
1 cup sugar
1 egg
1 teaspoon vanilla extract
2 cups flour
2 teaspoons baking powder
pinch of nutmeg
1/4 cup milk

Preheat oven to 350 degrees

In a large mixing bowl, cream butter and sugar until light and fluffy on medium speed.  Combine dry ingredients in a small bowl and set aside.

Turn mixer speed to low and alternately add dry ingredients and milk until a smooth dough has formed.  

Shape dough into a log and cover tightly with plastic wrap.  Refrigerate until firm.  Slice dough into 1/3 inch thick slices and bake on a parchment lined sheet for 8-10 minutes.

Dough lasts 7 days in fridge or can be frozen up to 3 months.


12 November 2012

Lenawee Magazine Recipes; Truffles & Pumpkin Fondue

I hope you have enjoyed the article in Lenawee Magazine!  It was great fun working with Amie, Lad, Vicki and Sue for such a lovely photo spread.  Many thanks also go out to Sandy Heckerthorn, Linda Prochaska and John (my husband) for being such good sports and expert peelers, choppers and overall helping hands!  I couldn't have done it without you!

If you DIDN'T receive the Lenawee Magazine, feel free to give The Daily Telegram a call at 517.265.5111 and they can point you in the right direction!

The Pumpkin Fondue is simple, elegant and delicious.  It's hearty enough to serve as a side dish to your meal or as an appetizer.  If you are cooking for a smaller crowd, you can adjust the recipe by half as well.  You can see my original recipe post here with additional notes and photos of the assembly.

Pumpkin Fondue

1 5lb-ish PIE pumpkin (do not use jack o lantern type pumpkin)
1 lb. Cheese- 1/2 lb. Gruyere and 1/2 lb. Emmentaler
1 cup heavy cream
1 1/2 cups stock, vegetable, chicken or veal
a generous pinch of freshly ground nutmeg
10 1/4 inch thick baguette slices, toasted until dry and crispy
1 Tablespoon Olive Oil
a pinch of Salt
Remainder of Baguette sliced into 1/2 inch thick slices for eating

Preheat oven to 450 degrees. Cut top off pumpkin and clean out seeds. Sprinkle salt onto inside flesh of pumpkin.

Chop or grate cheeses and set aside. Bake baguette slices until crunchy and golden brown. Mix heavy cream, stock and nutmeg together.

Place pumpkin into shallow roasting dish and layer baguette slices, then cheese, then cream mixture into 2 layers inside pumpkin. You may have baguette slices left over.


Put pumpkin top back on. Rub exterior of pumpkin with olive oil. Bake 1 hour and 15 minutes until cheese is bubbly and pumpkin is golden brown. Using 2 spatulas, remove from baking dish carefully and place on platter. Serve with additional baguette slices or as a side dish. You'll want to scoop up the roasted pumpkin flesh with all the cheese as you are serving or eating!


TRUFFLES 
 12 ounces Bittersweet Chocolate chopped into small pieces
2/3 cup heavy cream
1 teaspoon pure vanilla extract or 1/2 vanilla bean seeds

In a large saucepan over medium heat, bring cream to just boiling.  Remove from heat, add chocolate and vanilla and stir until completely melted.

Allow to cool in refrigerator about an hour.  Using a teaspoon, melon baller or small scoop, create truffle balls, rolling gently in hands.  You'll want to work it quickly in your hands to avoid melting.

Finish by rolling in cocoa powder, raw sugar, colored sugar crystals, even coconut or crushed candy canes!  Use your imagination!    

For the magazine, I zested an orange and mixed the zest with about the same amount of raw sugar.  I let the mixture dry on parchment paper overnight then crushed it between my fingers and rolled just the top of the truffle in the orange/sugar.  

Place the truffles on a parchment lined baking and refrigerate an additional hour.  Then place in an airtight container, between layers or waxed/parchment paper in a cool place and they should last about 2 weeks.

NOTE: Bittersweet chocolate is between 65%-75% cacao.  The lower the number, the sweeter the chocolate.  Milk Chocolate will not firm up in this recipe, so I recommend using the bittersweet.  If you'd like the truffles sweeter, make sure to use the 65% bar and roll in a sugar.

I hope you enjoy these recipes as much as we have!  Happy Holidays!